
SUMMARY
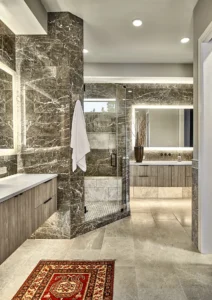
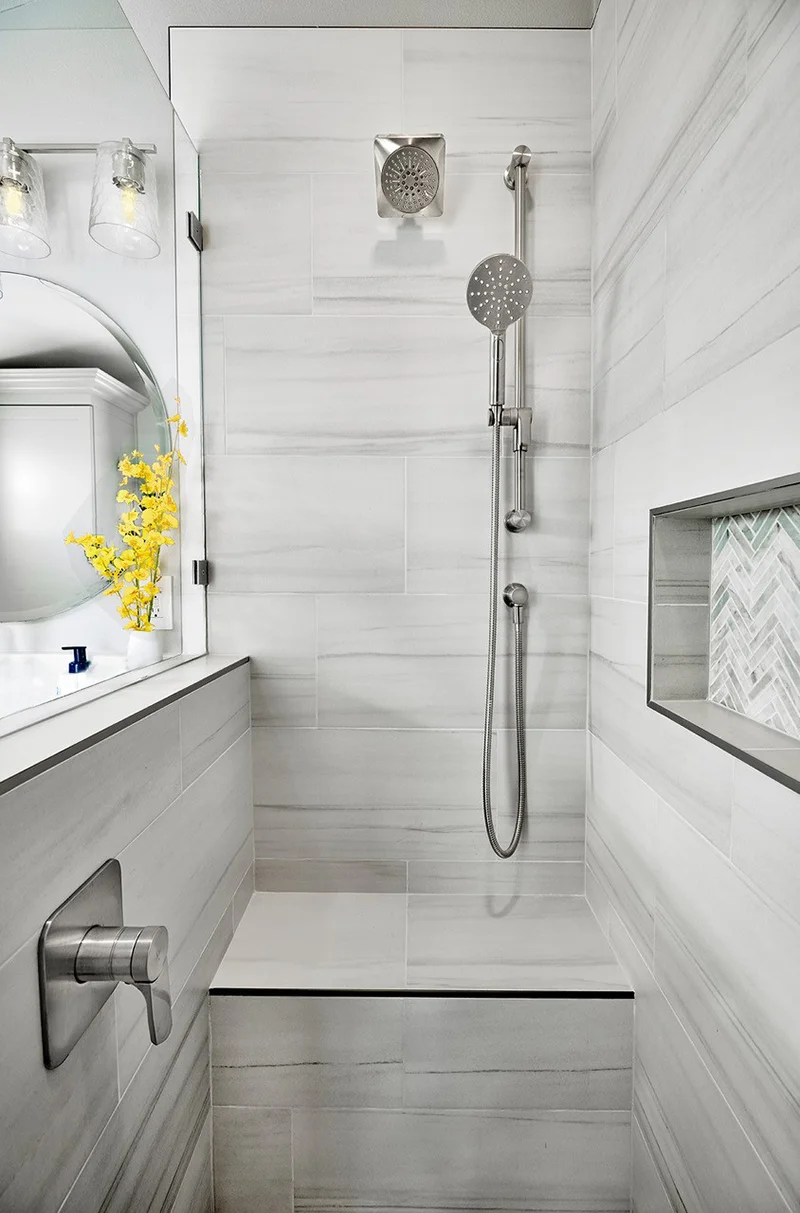
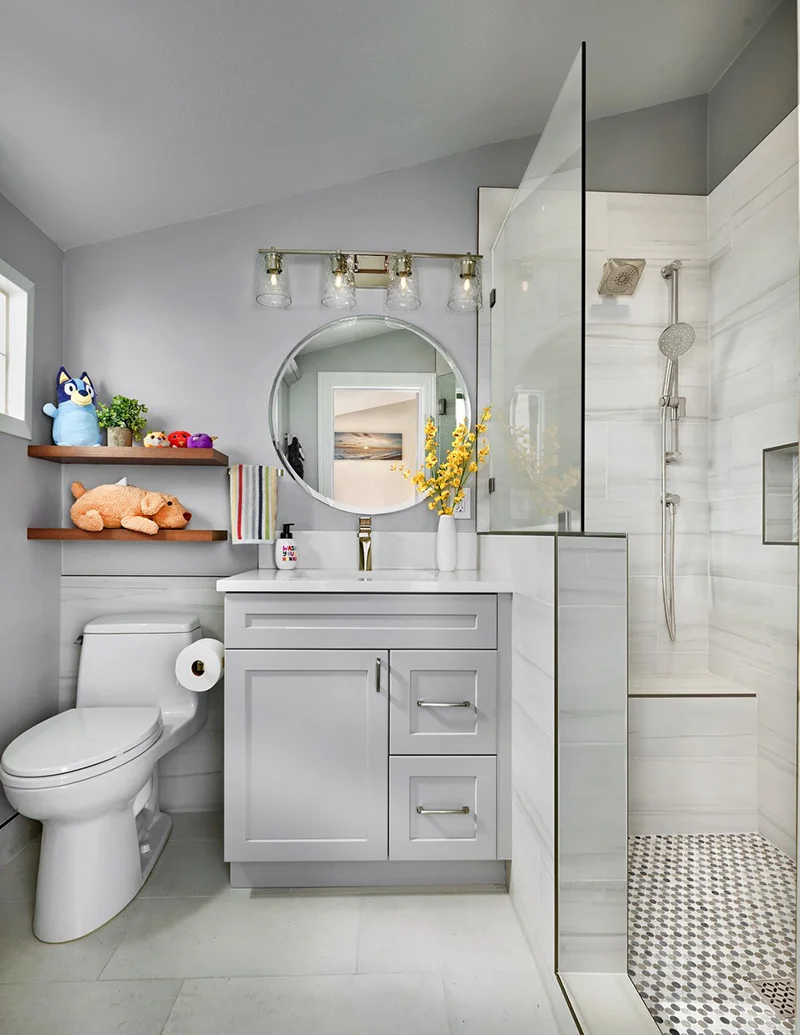
From dysfunctional, hazardous, and completely outdated to sleek, bright, functional and tranquil. We completely overhauled this guest bathroom to give the owners’ daughter a space she’ll love for years to come. With added storage, a new shower configuration, and gorgeous material upgrades, we created a private oasis without expanding on the original footprint. This bathroom reno was a true labor of love and we could not be more in love with the final result.
DETAILS
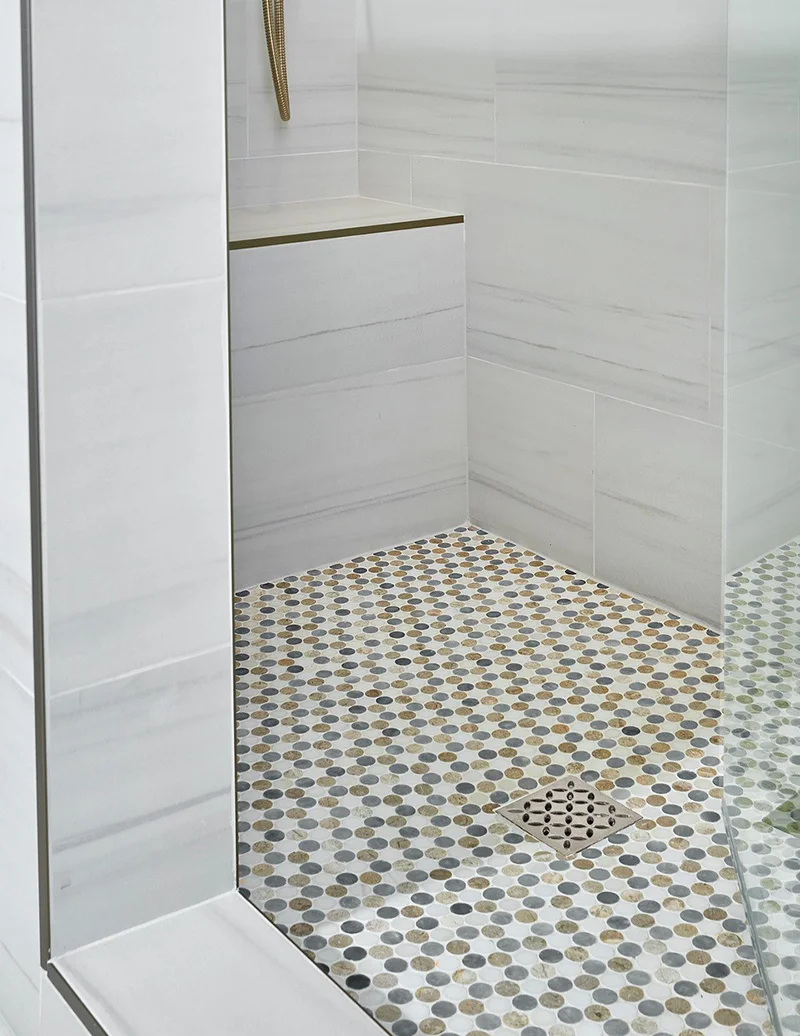
With one look at this guest bathroom, we knew we needed to help the homeowners. Nearly everything in this space was outdated, unsightly, or hazardous. Slate tiles were used for the main floor as well as the entire shower, there was a single corner cabinet with nearly unusable shelves, zero under sink storage, odd plumbing fixture placement, and a shower layout that left us confused and concerned. The shower floor was divided by a thick beam covered in slippery slate tiles. It was almost like someone put two pre-fabricated square shower pans into the space, slapped some tile on to seal the cracks and called it good. While the layout would be dangerous for anyone, it was especially dangerous for kids.
This bathroom is for the homeowners’ young daughter and needs to be safe, first and foremost, with improved storage and functionality coming second. The new design also needs to withstand the test of time as she grows up and her needs and personal style change. With these goals in mind, we incorporated sleek and neutral colors, clever storage solutions, and a safer layout to take this bathroom from a hazard to a haven.
CHALLENGES
- Safety Concerns: Our first order of business was to assess the awkward shower floor beam. We could not proceed with any work until we determined the reason for this design and how to resolve it.
- Mold: Through demo, we discovered the existing plumbing was done incorrectly and caused extensive mold and mildew underneath the shower.
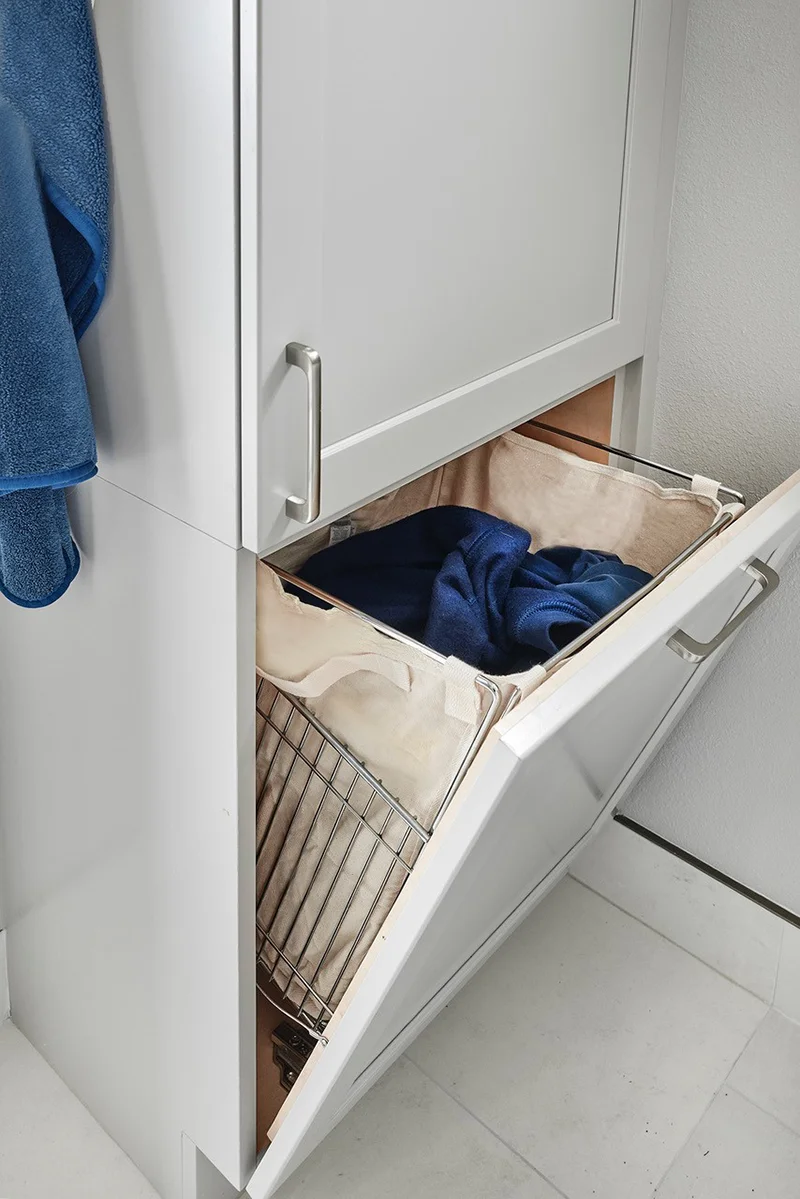
- Storage: With limited space to work with, we had to come up with creative storage solutions that didn’t make the room feel cramped.
SOLUTIONS
- Safety Concerns: We examined the foundation and framing as much as possible before beginning work, and with a plan in place, we were able to efficiently rework the structure to support our new shower design.
- Mold: We removed and treated all areas affected by mold and mildew, followed by protective sealers to prevent future issues, and finished with expertly installed plumbing.
- Storage: With strategic planning and a mindfulness for maximizing space, we were able to add multiple functional storage units, including a vanity base, floating shelves, and a linen cabinet with a concealed laundry hamper.