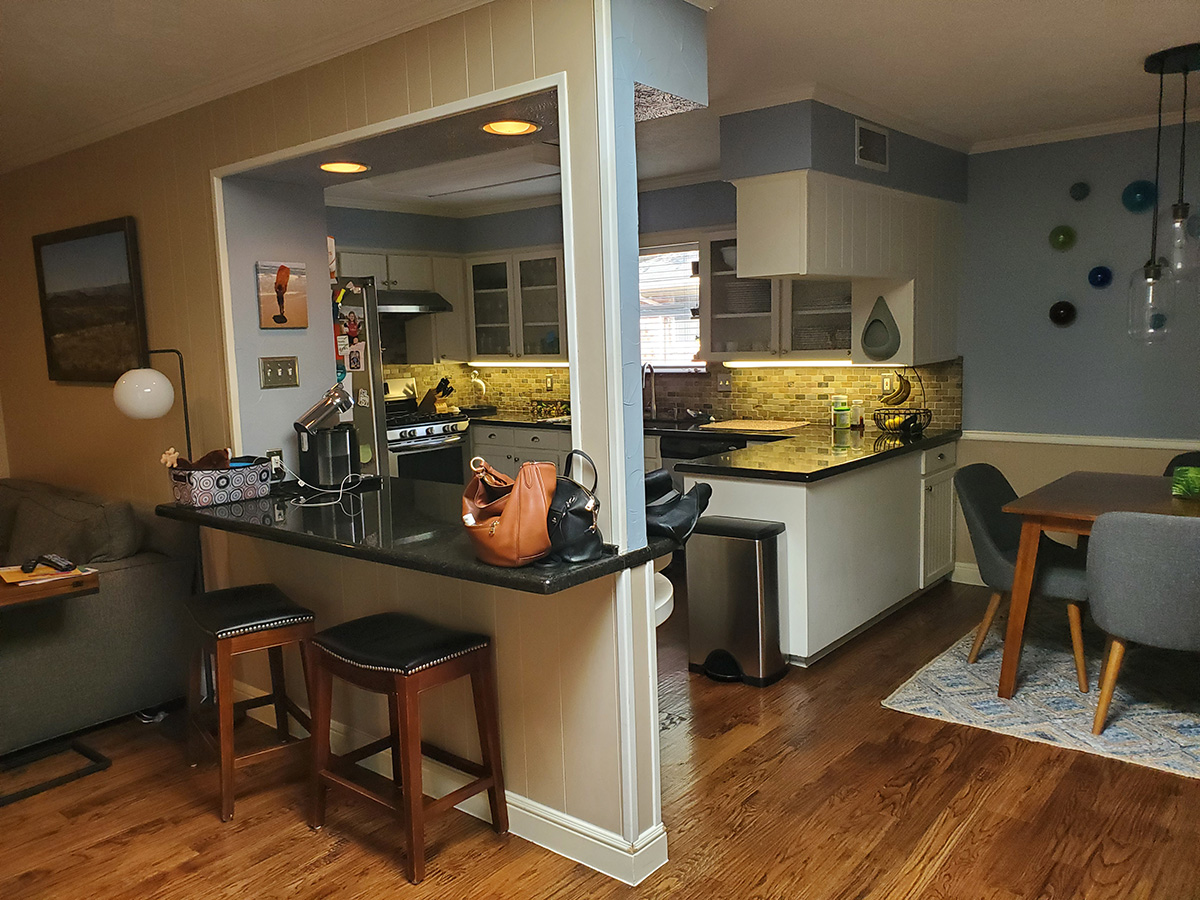
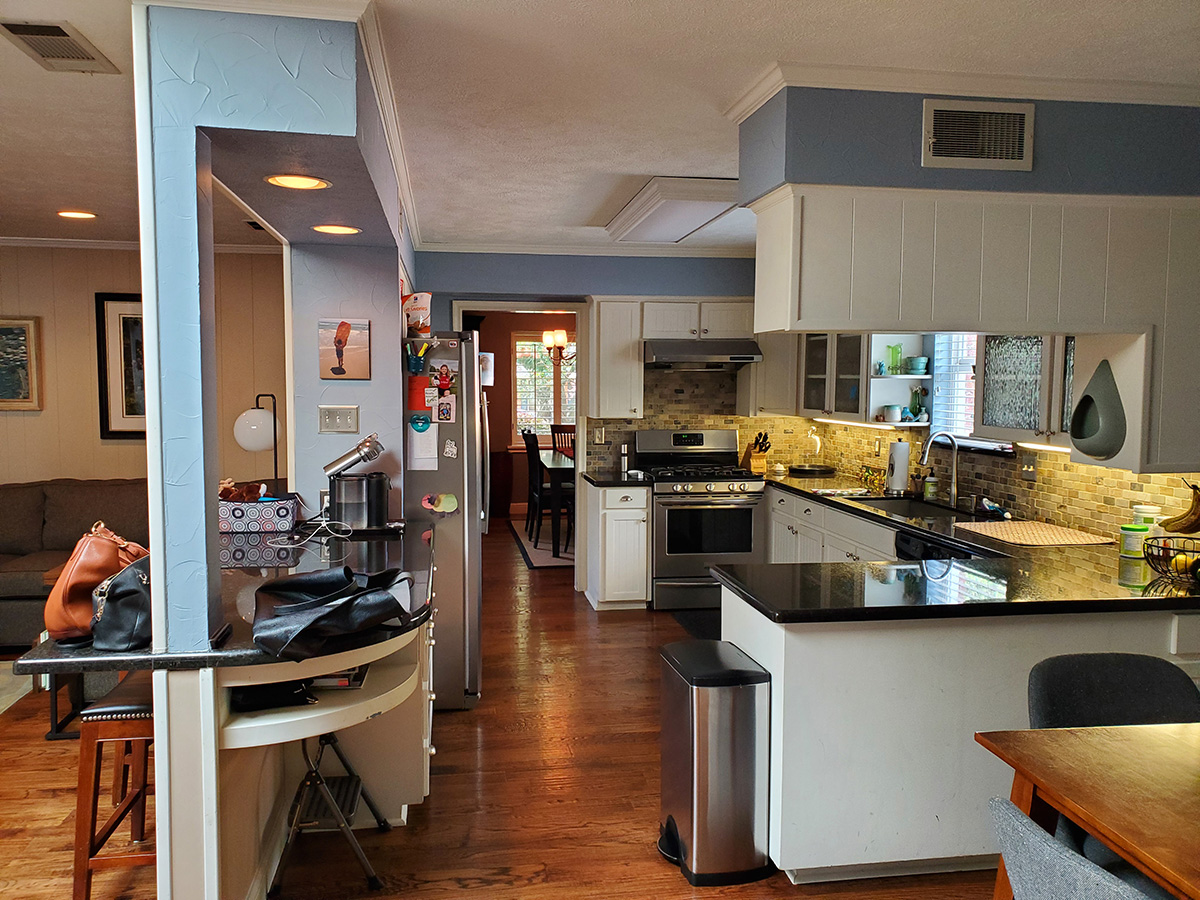
The house was built in 1959 with the style, charm, and function that were reflective of that specific era in time. Small, cozy and divided small rooms designed to give the family the needed privacy in each space, which also includes the kitchen. However, this style and footprint of a home built long ago no longer fit the lifestyle of the new generation let alone an avid baker with a passion for family, friends and fun.
Unfortunately, these homeowners had updated this kitchen with a face-lift designed to make the kitchen more beautiful and somewhat more functional, but the updates did not solve the real issues or the problems this family had for the way they wished to use the kitchen for cooking, baking and enjoying when entertaining.
With critical cooking specifications and lifestyle analysis, we were able to determine the main issues the owners had with their kitchen before we set out to create life-altering solutions. Here’s a list of objectives and solutions we created.
OBJECTIVES
- Create an open feeling of a larger space without tearing down walls or expanding the existing footprint of the home.
- Create dedicated food prep and baking prep areas without compromising space from the existing small rooms or the kitchen footprint.
- Add much-needed storage to an otherwise tiny kitchen for the many food prep appliances, mixing bowls, baking trays, pans and dishes that were scattered between multiple rooms in storage cabinets. I bet this made cooking a pleasurable experience.
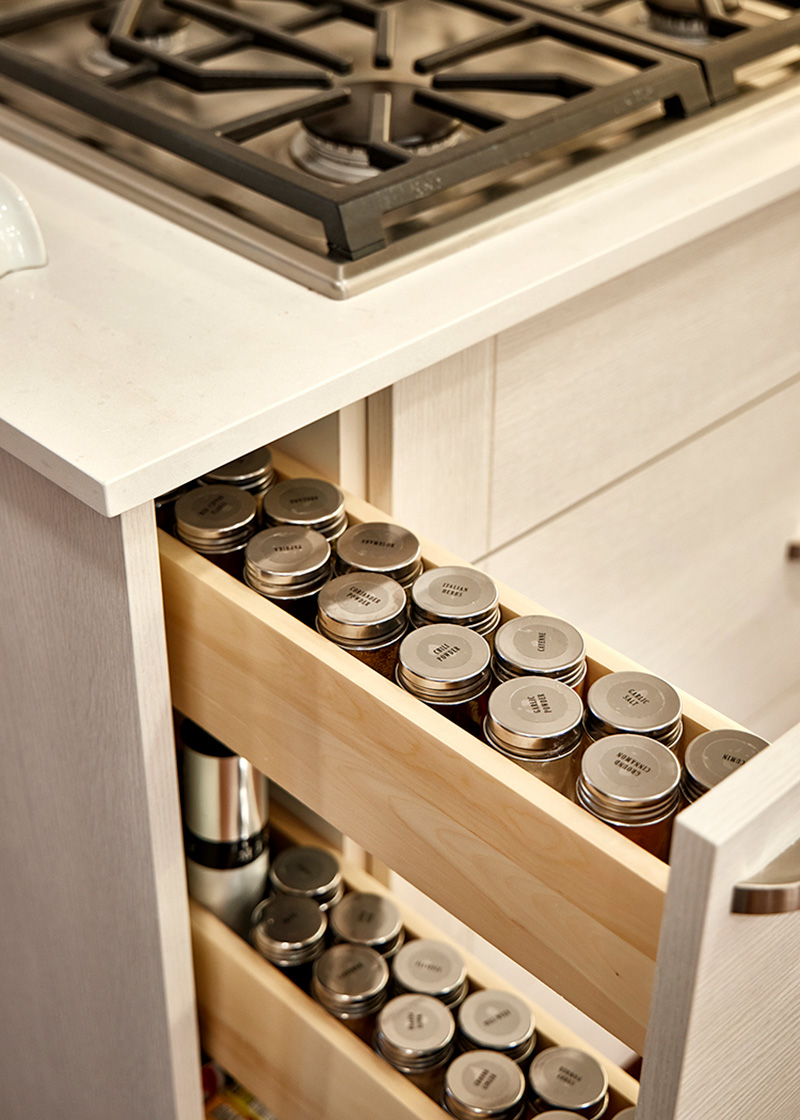
- Incorporate organizational systems that are well-appointed in specific locations for ease of use when cooking or prepping food.
- Add quality new appliances
- Update electrical wiring to current standards and improve lighting in the overall space with a focus on critical prep areas.
- Minimize cost where ever possible without compromising the integrity of the work or design.
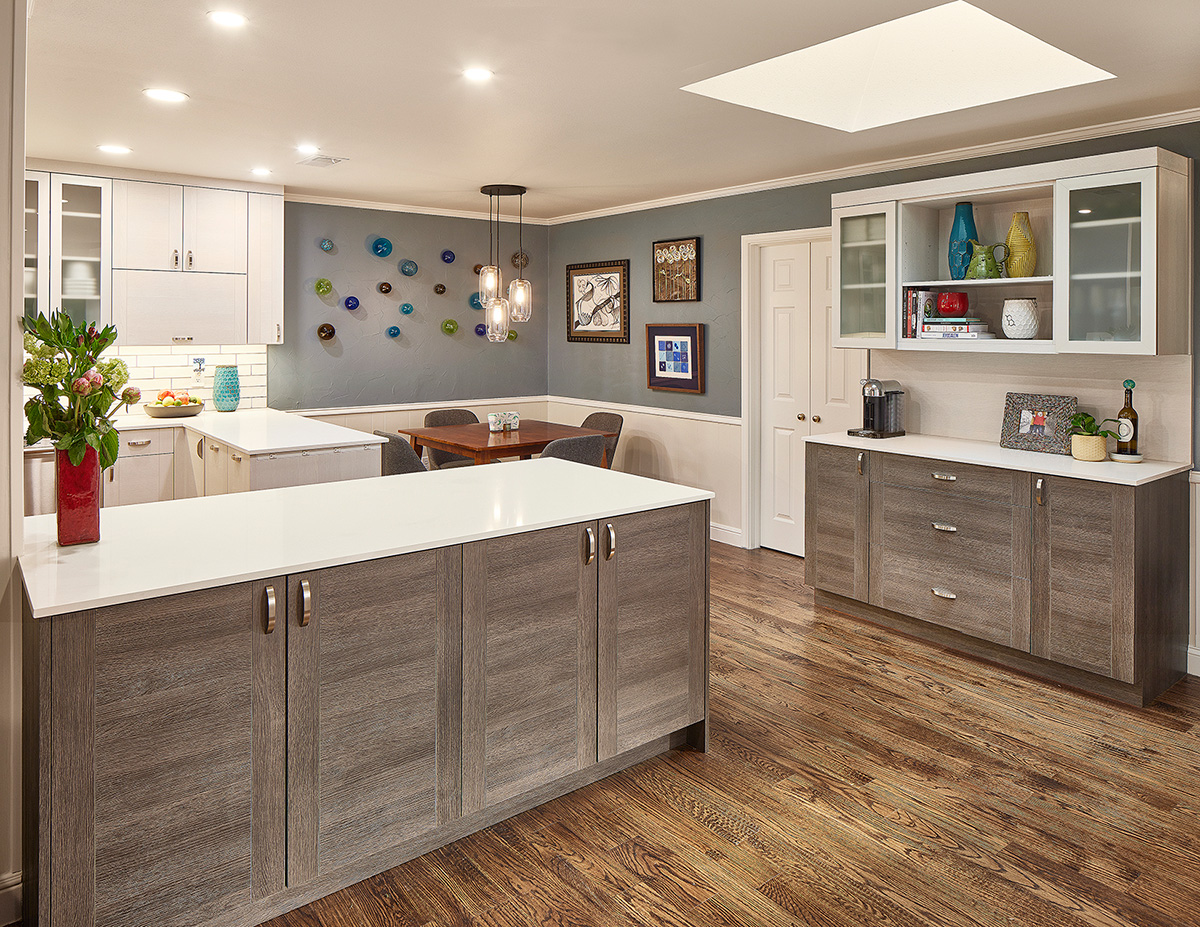
SOLUTIONS: This kitchen is now a two-chef kitchen…
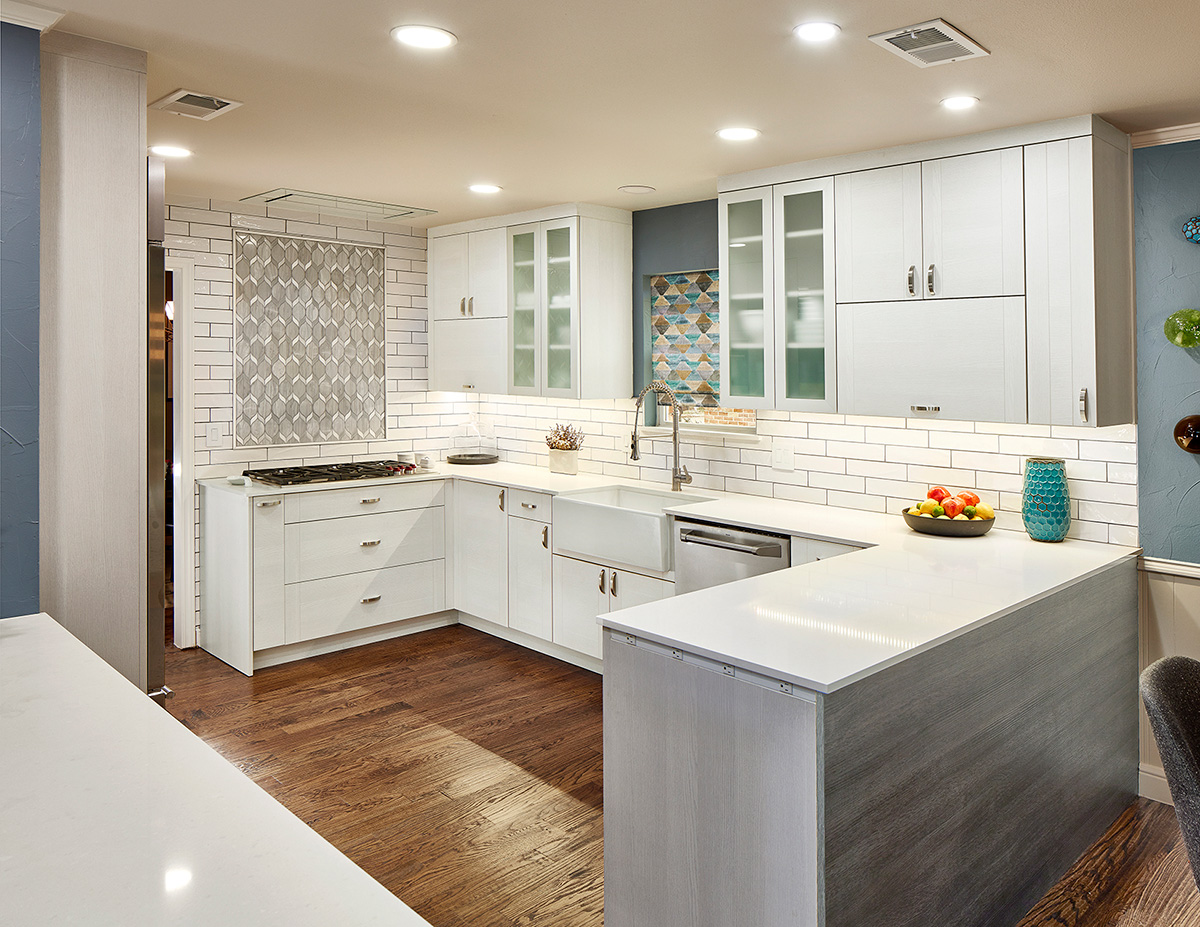
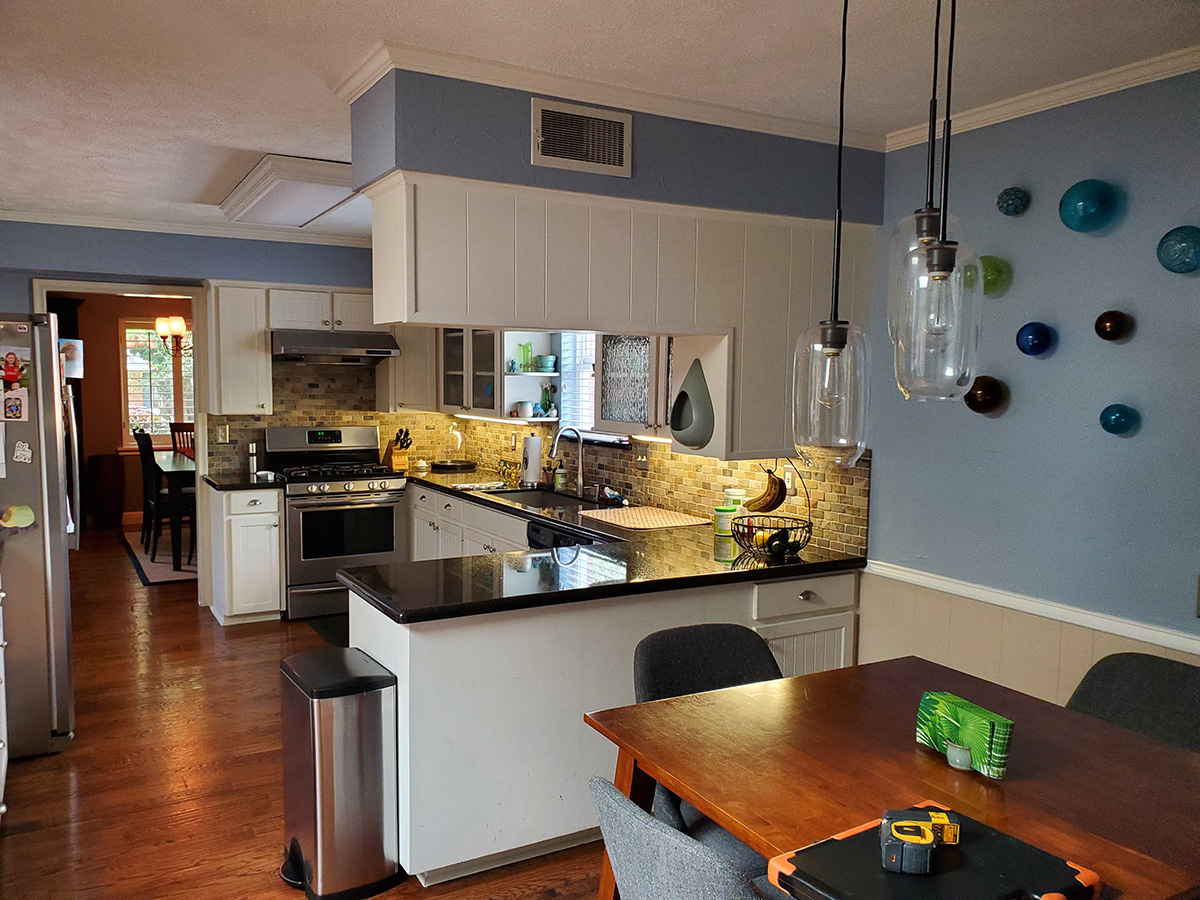
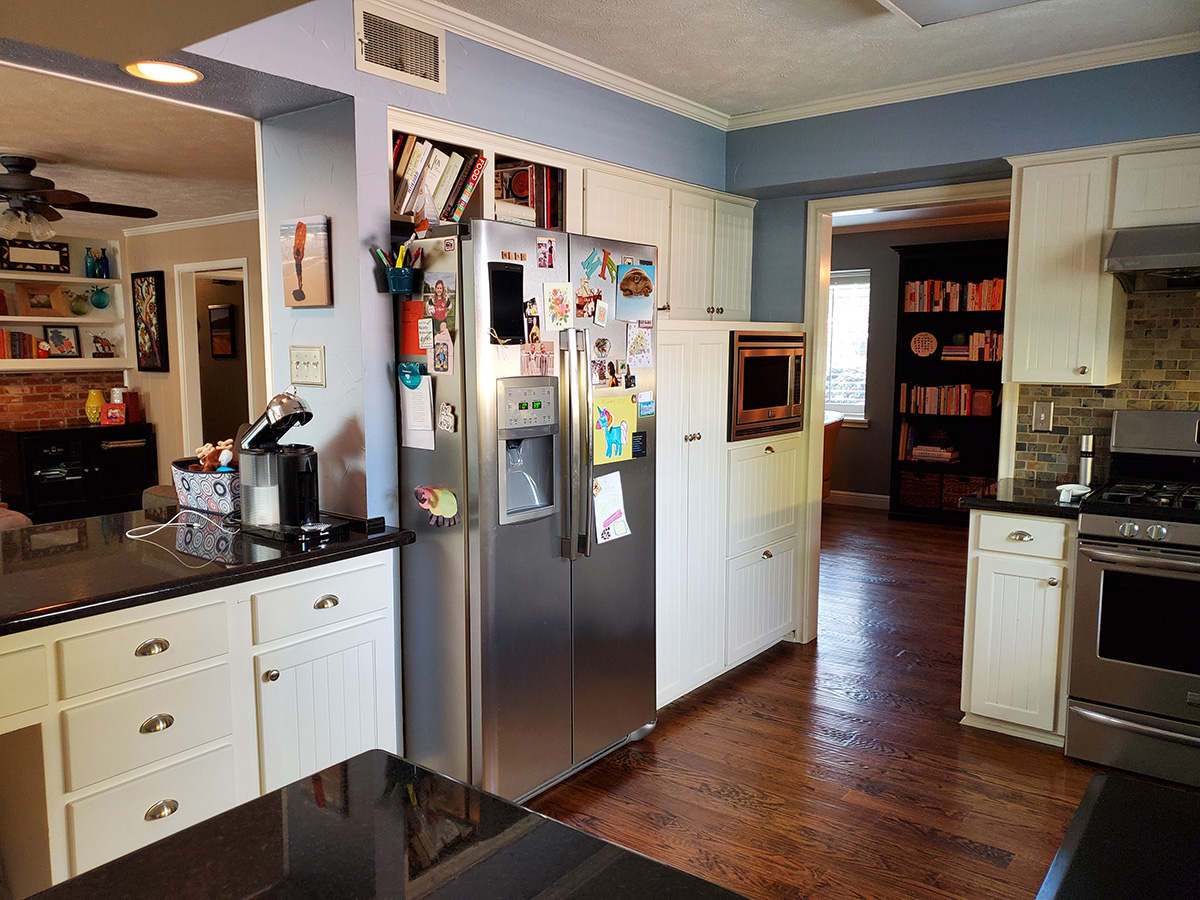
- We remove the end column on the peninsula between the family room and the kitchen, omitted all the soffits above the existing cabinets and omitted the drop-down wall cabinets between the breakfast room and kitchen. This created a much larger and open space between the breakfast, family room and kitchen without fully omitting the wall between the two rooms. It was critical to keep part of this wall for privacy but also the appliances and a well-organized pantry.
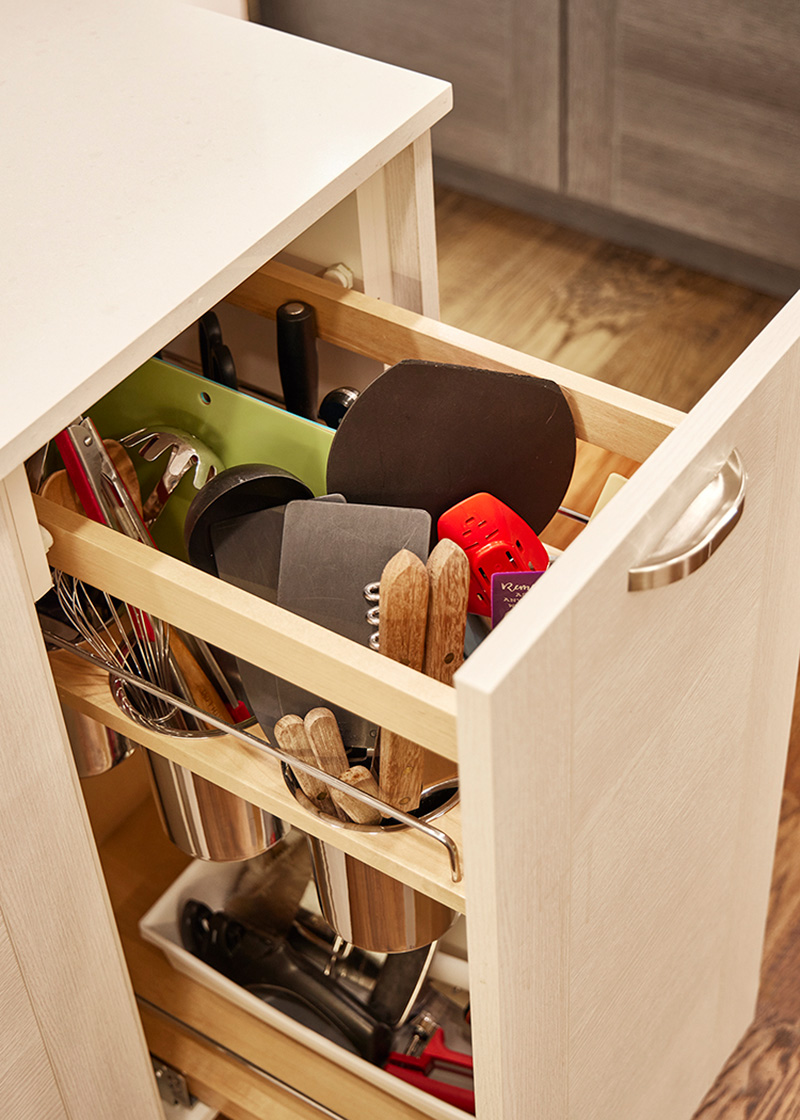
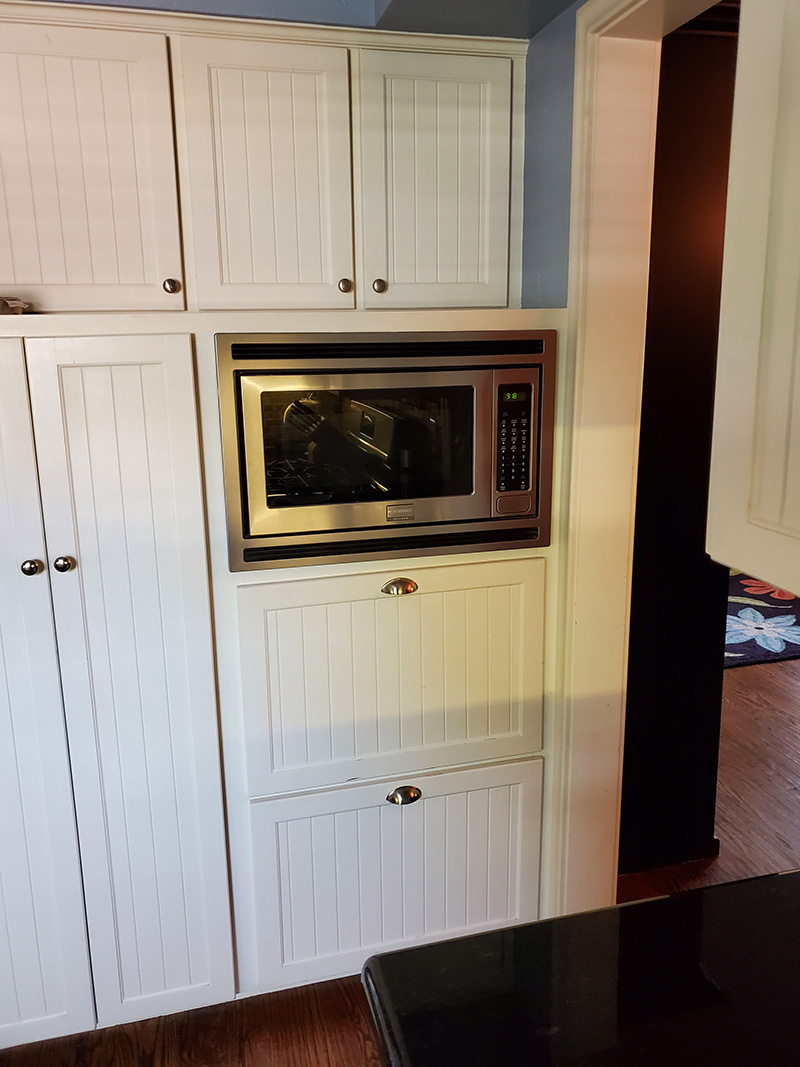
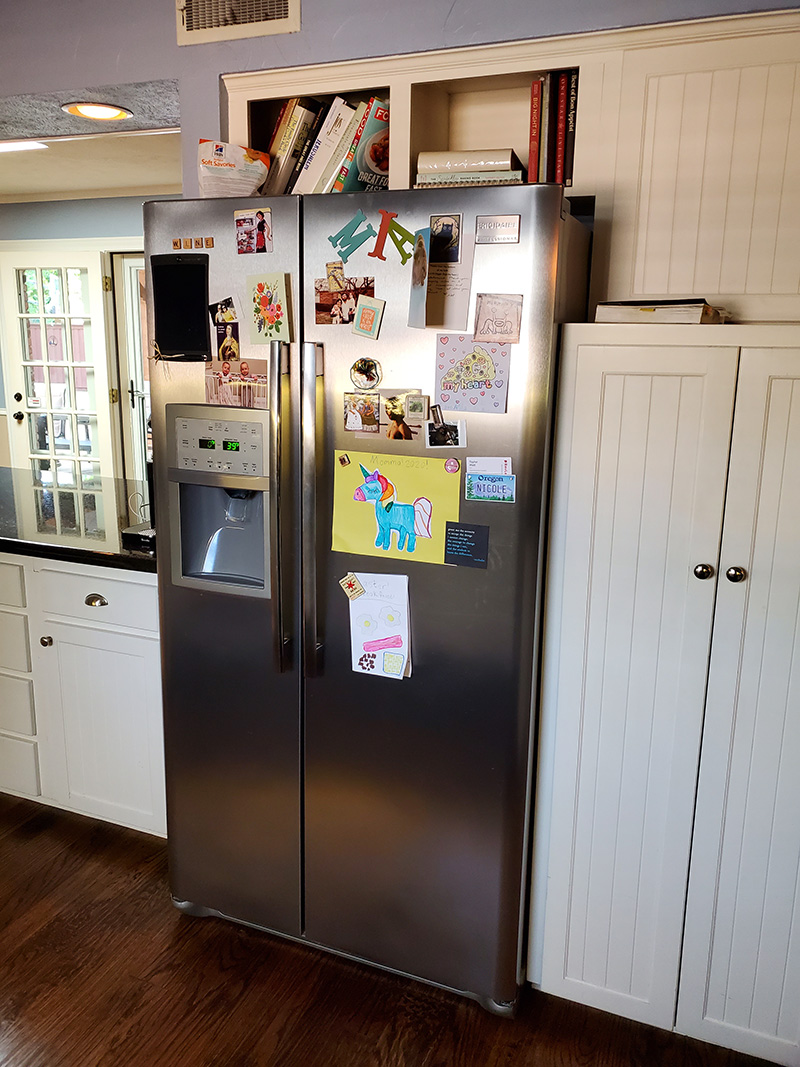
- Considering the size of this kitchen, as well as the miles of prep and cooking paraphernalia, we opted to build frameless custom cabinets by Bellmont. By doing this, we were able to gain valuable storage with 12 additional linear feet of custom cabinets. Something not even I was able to truly appreciate until the kitchen was done. This client actually has several shelves and a drawer that is still empty.
- We were able to provide (2) prep areas with dedicated storage beneath each one. The Peninsula was optimized in size and storage to serve the purpose of a serving area, prep area as well as storage for larger prepping appliance. The Family room side actually has storage for outdoor dishes.
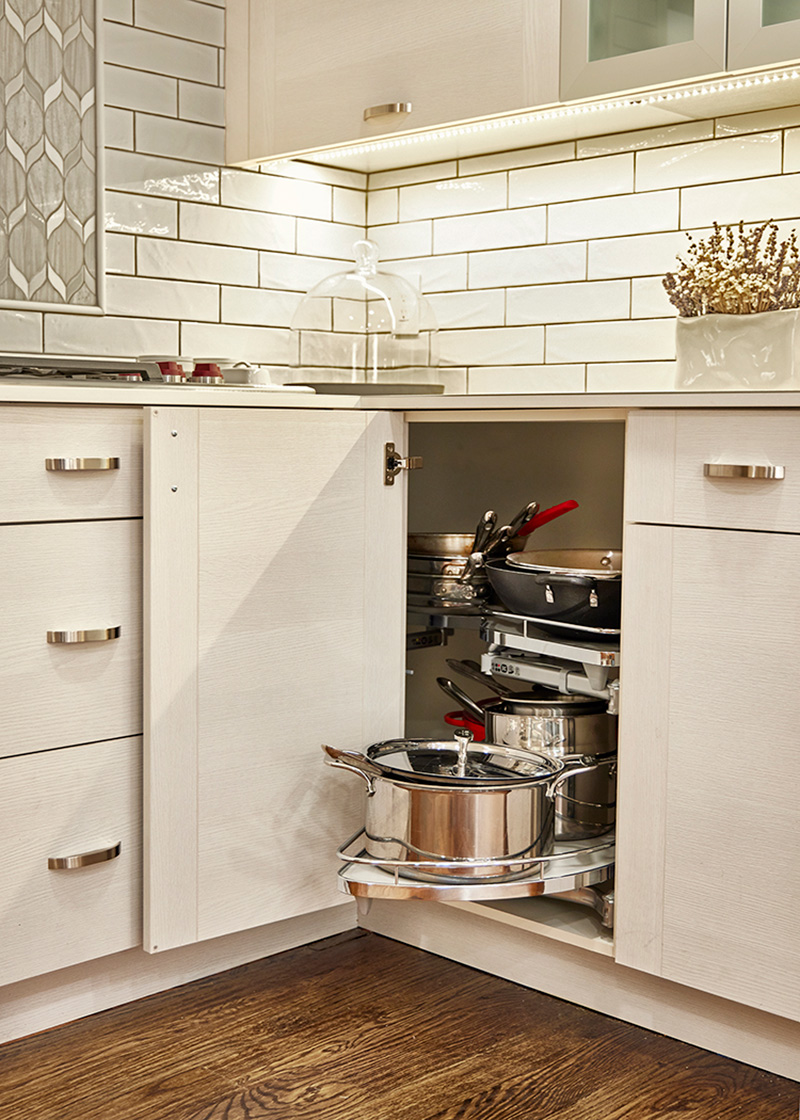
- The second peninsula houses a deep corner optimizer, an oversized utensil organizer and a large trash drawer with a hidden drawer above it for storage of trash bags and other incidentals for the space.
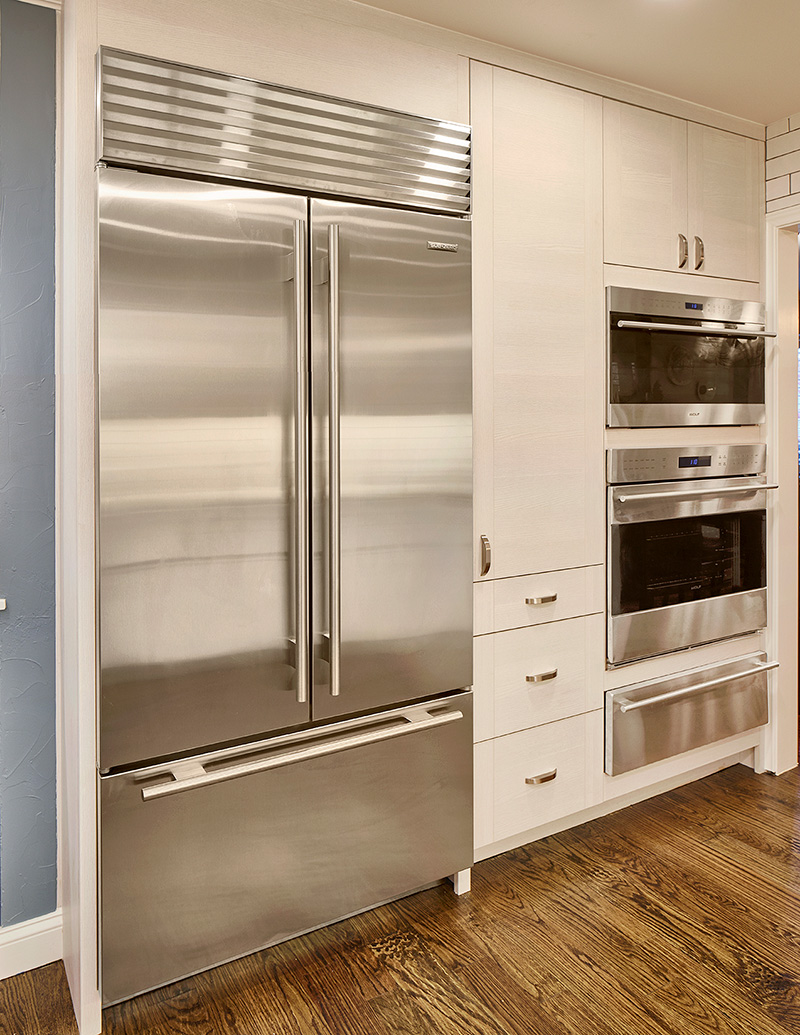
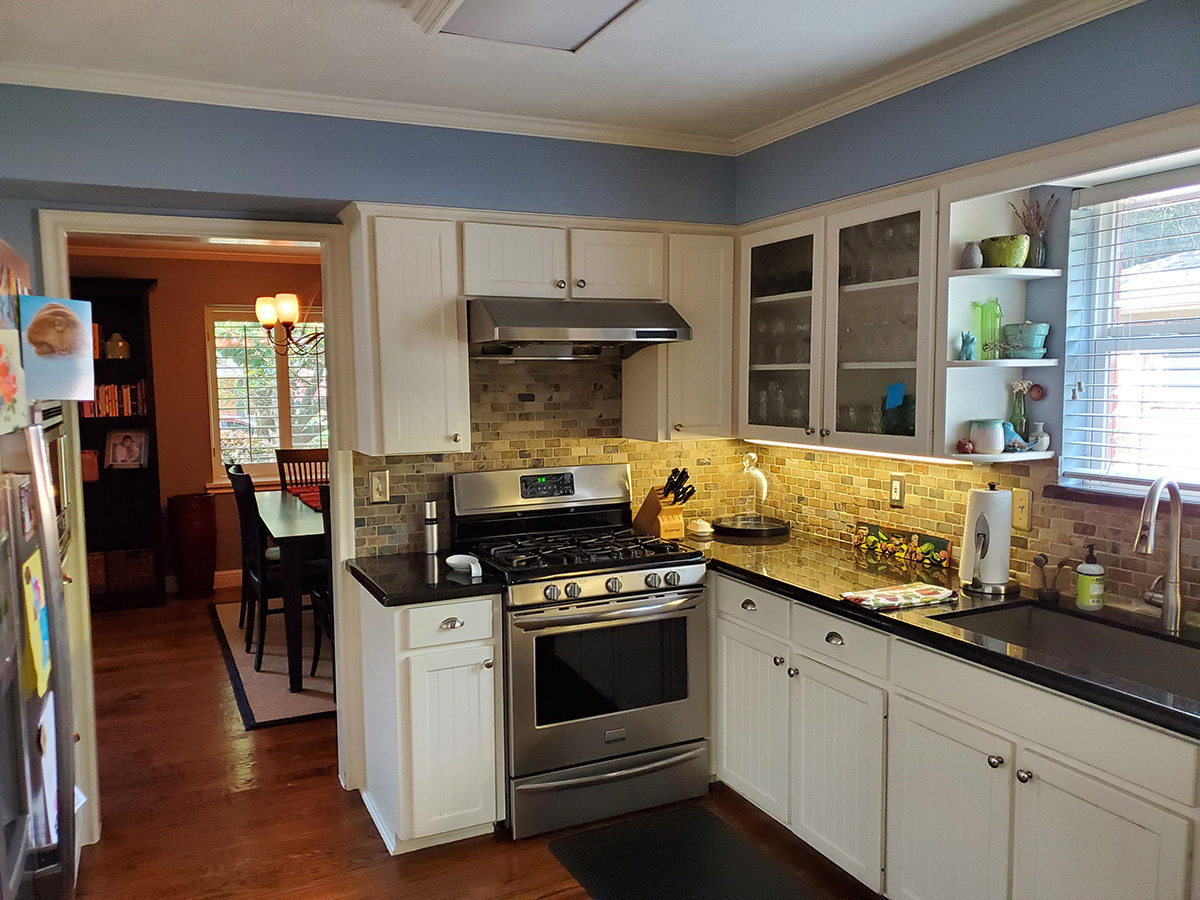
- The selected appliances are Subzero and Wolf, which are designed and built to last 20 plus years and cook the food to perfection and ease.
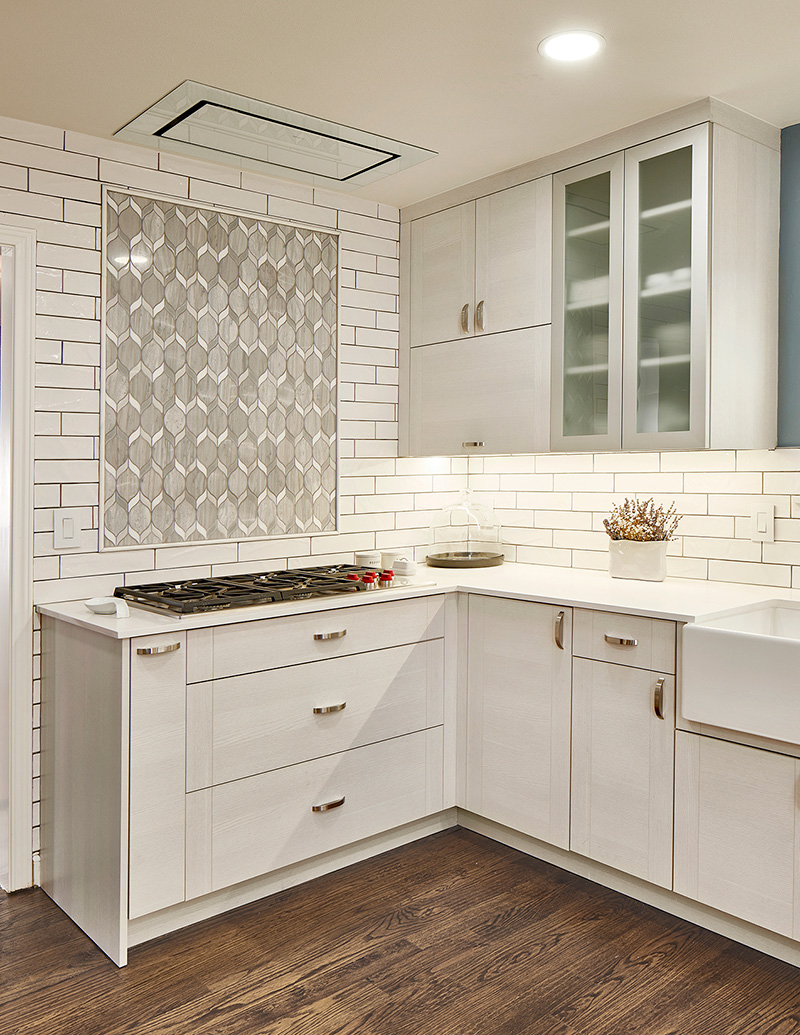
We installed a powerful ceiling mounted exhaust fan over the new Wolf gas cooktop, not just for the clutter-free look but for the quality of the Wolf Exhaust system.
- Yes, we did have to update the wiring to this home to also replace the outdated breakers, GFCI and switching systems. We added layered lighting in all the right places for any occasion.
- To keep the cost exactly where the client needed the budget to be, we spent a great deal of time on the interior design process in order to find the best deals possible without compromising the integrity of the materials we were using. The actual budget that was created during the design phase was maintained throughout the entire project. Our amazing homeowner did choose to add 2 change orders in the form of additional added services. It was an honor to add the requested change orders for the additional items.
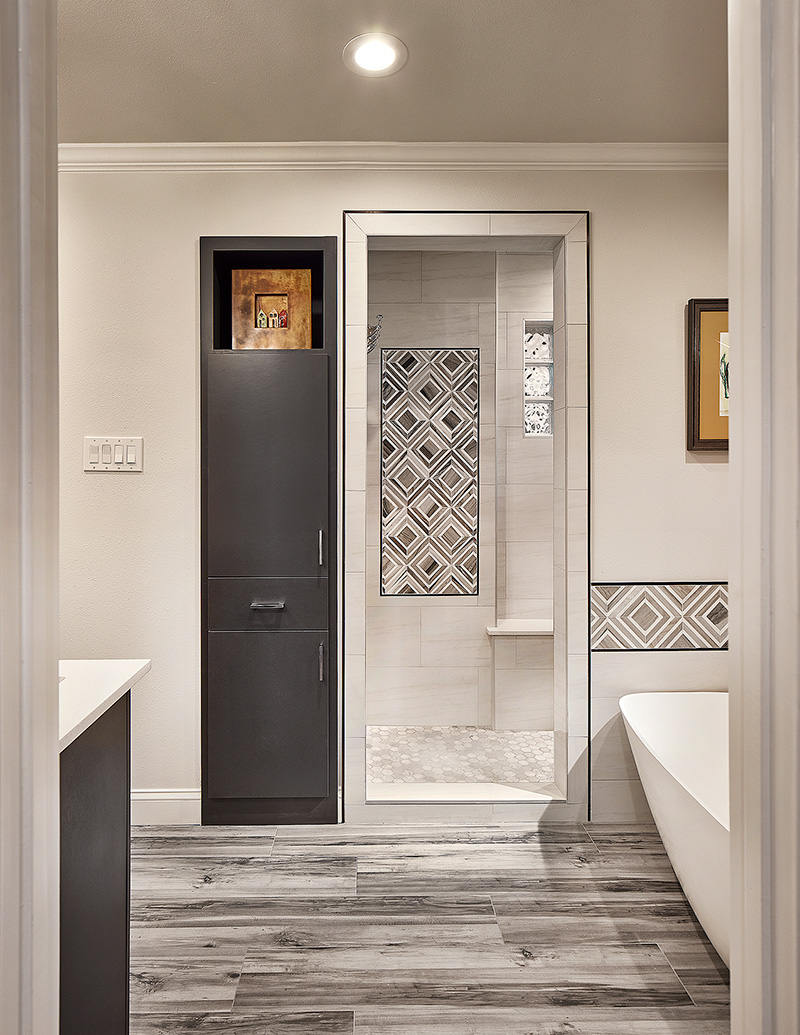
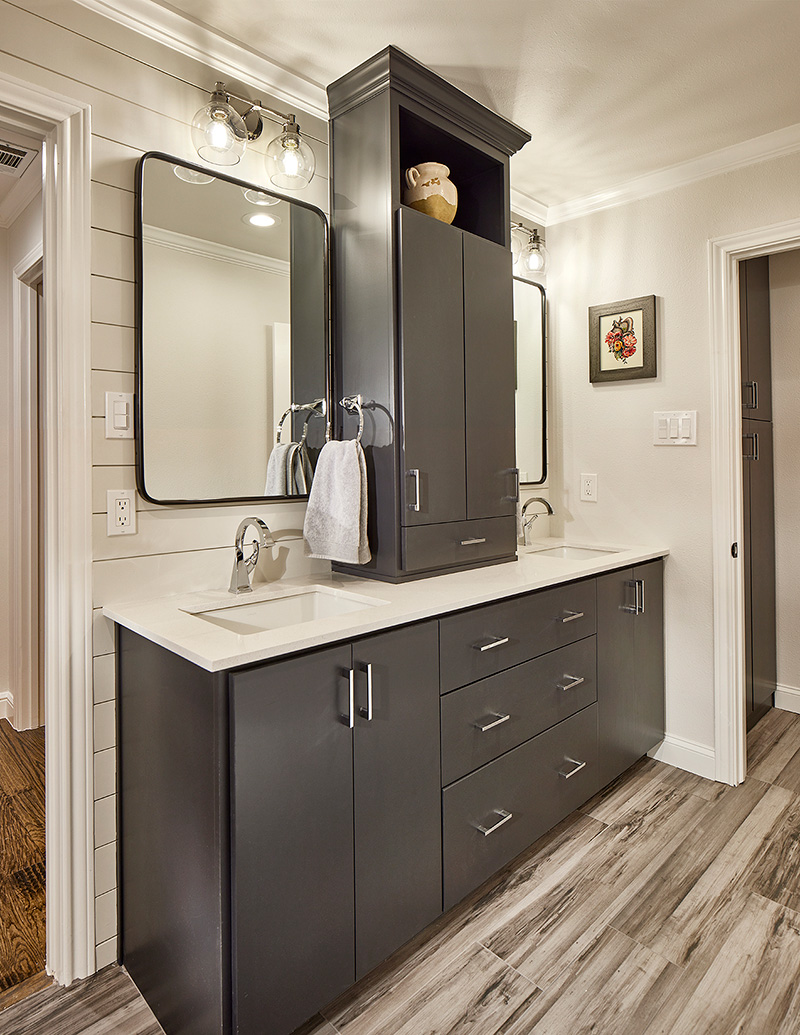
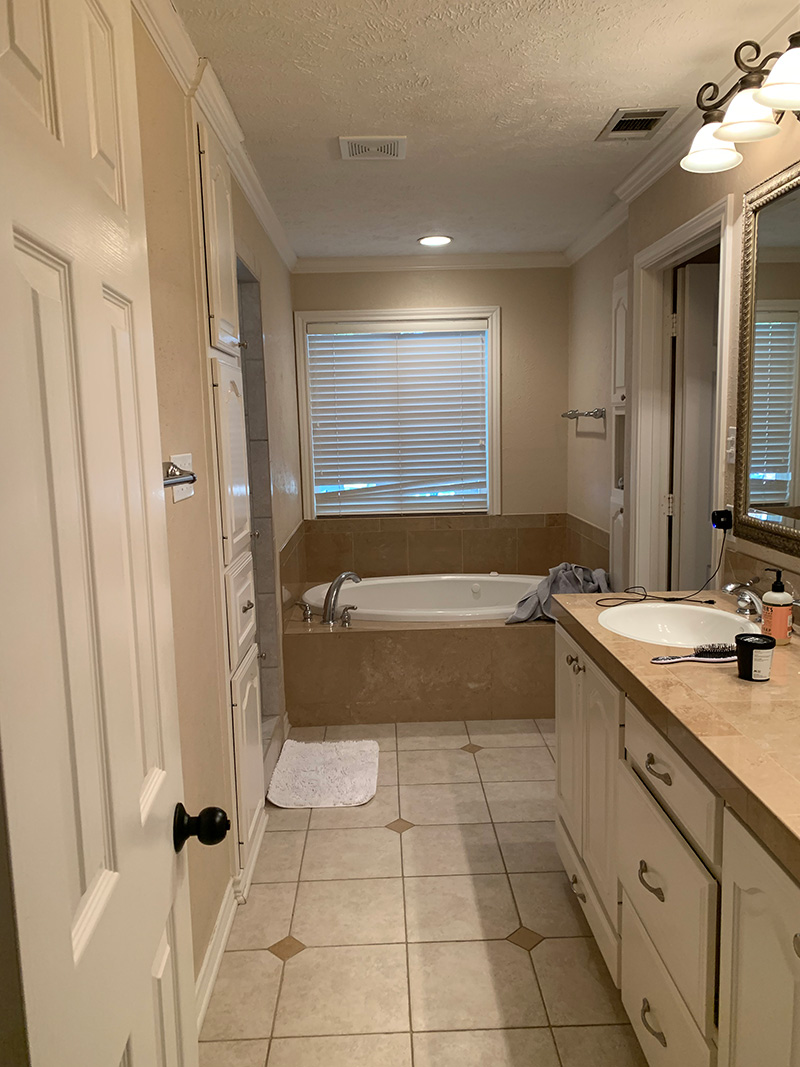
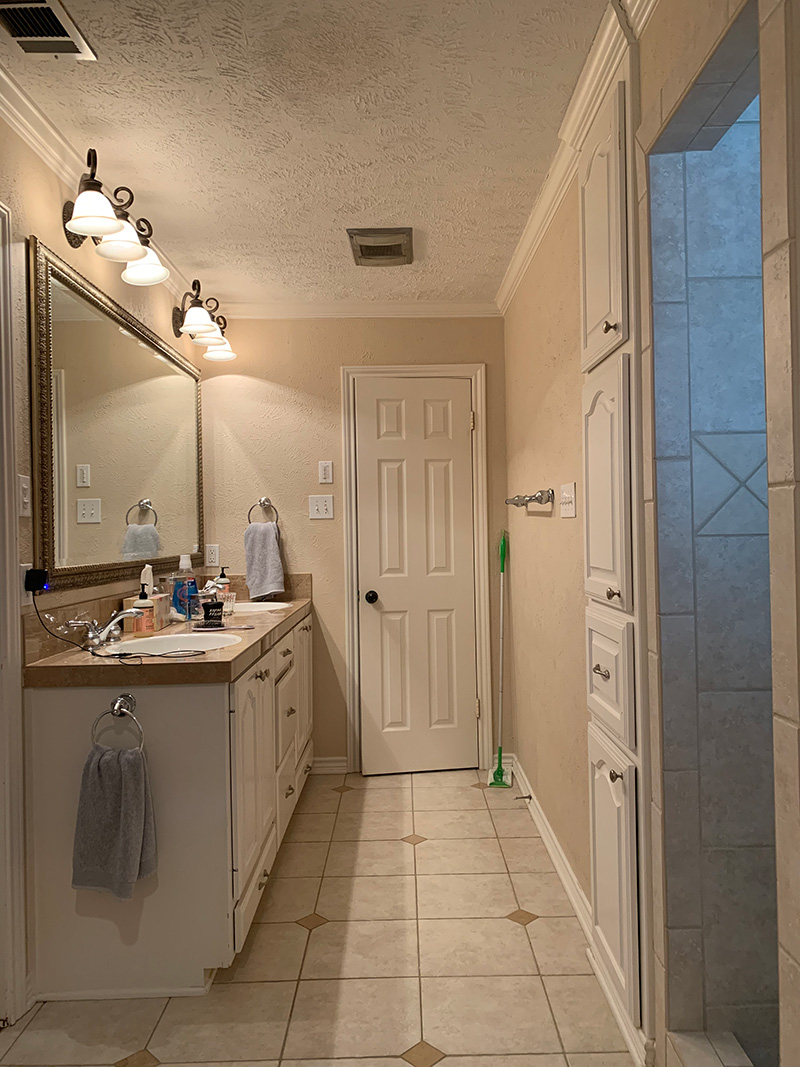
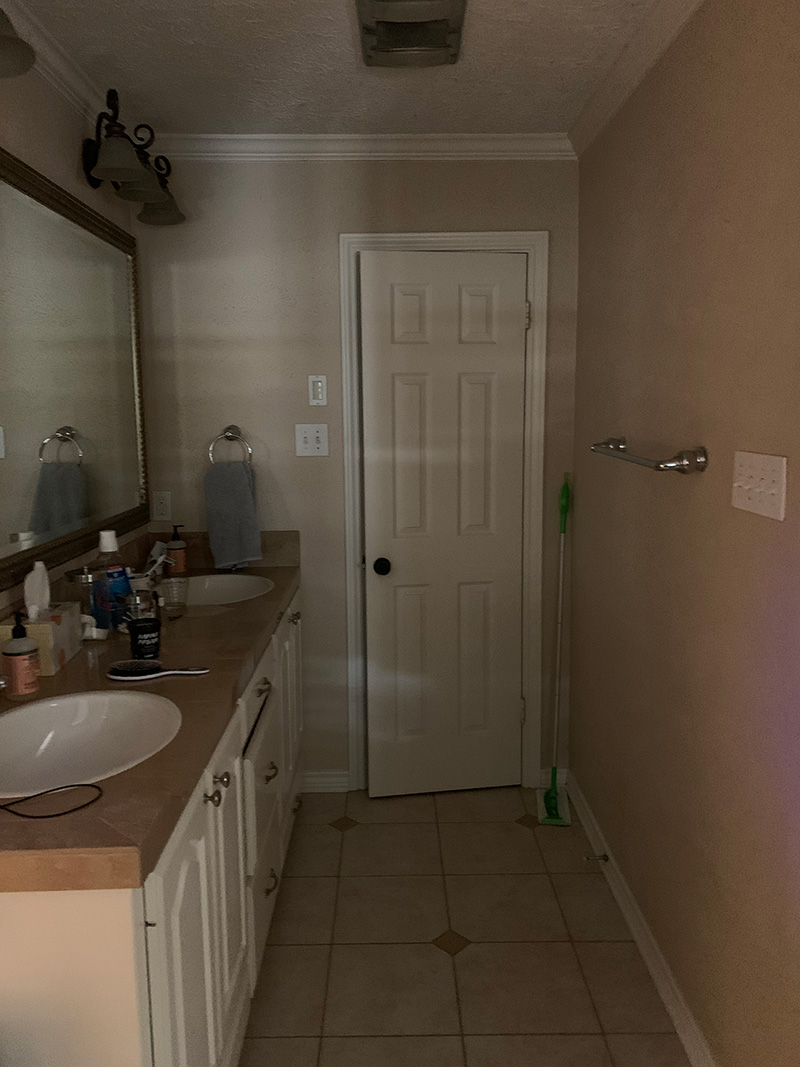
THE MASTER BATH
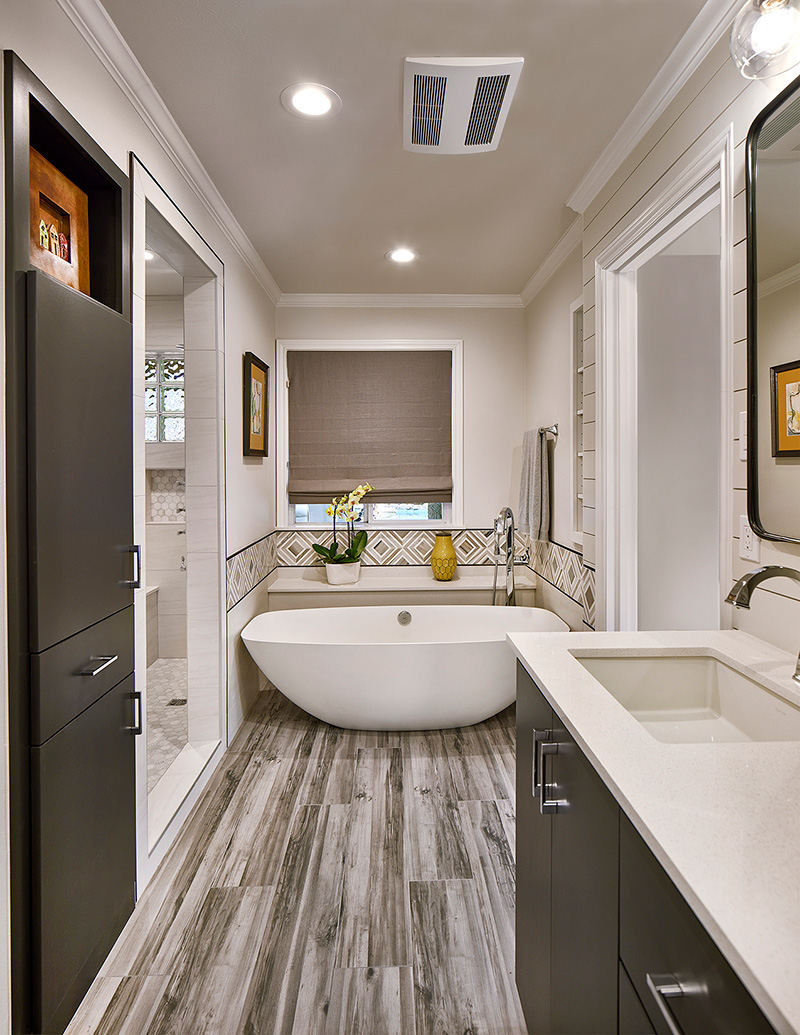
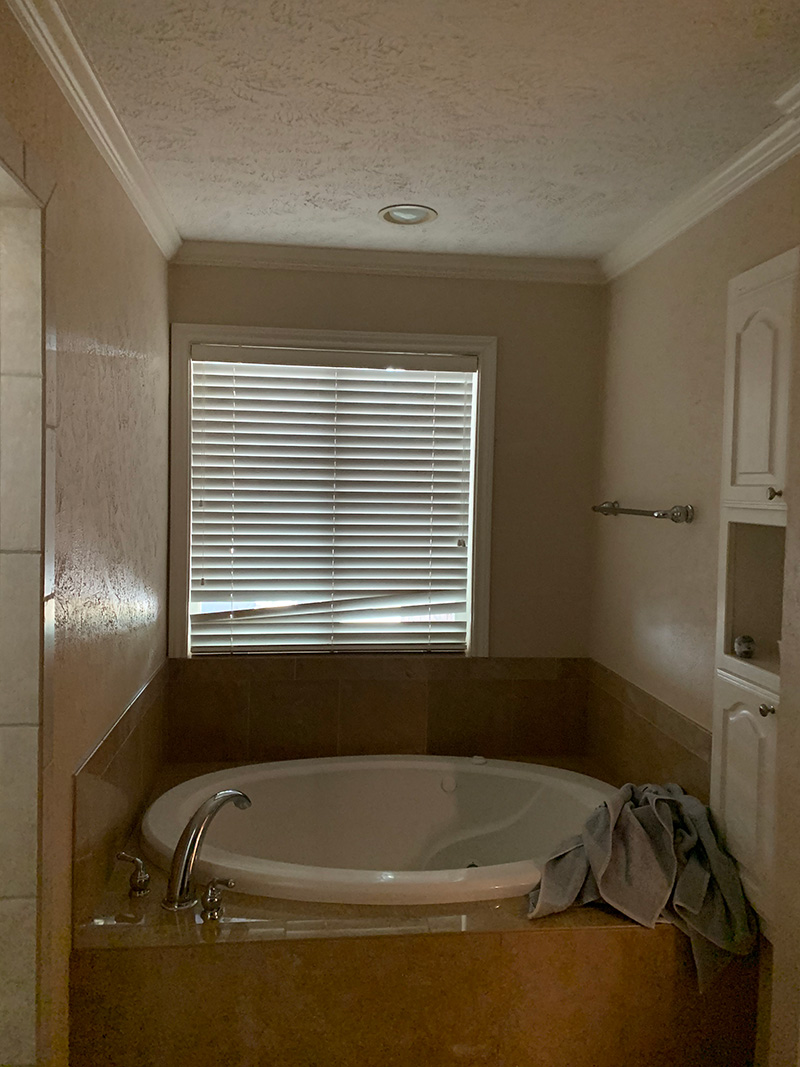
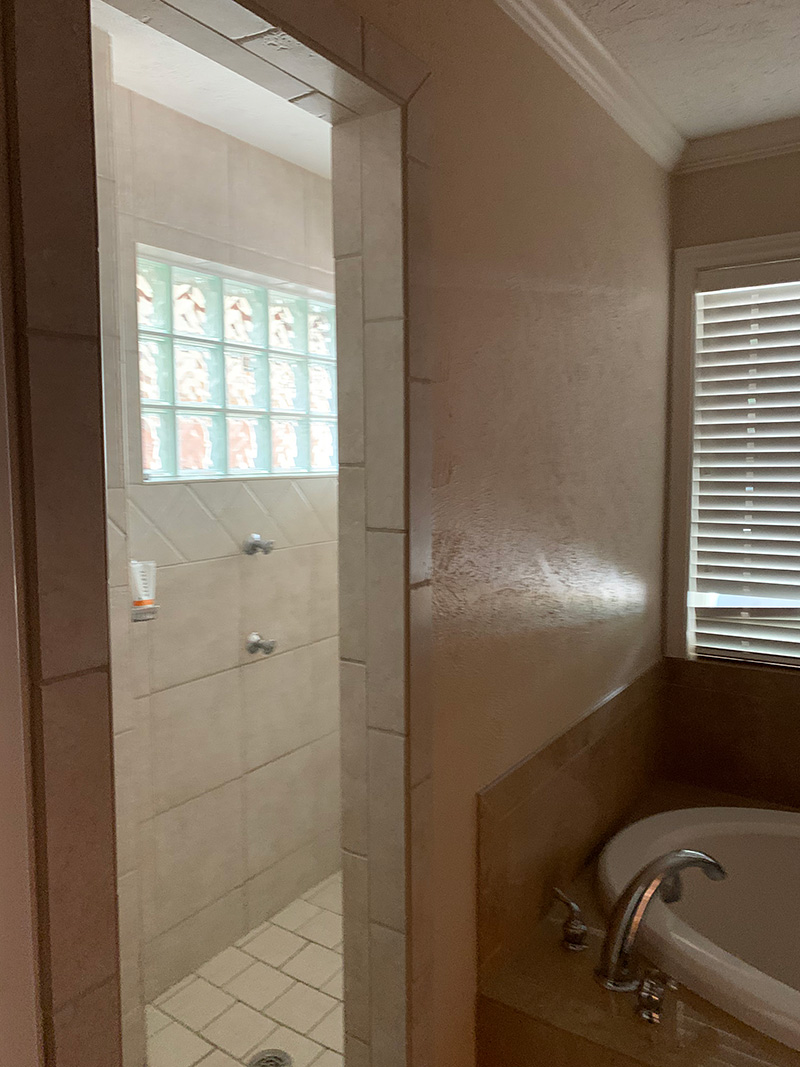
I think it’s best if we allow the before and after photos to tell the story of this small but impactful bathroom. Yes, it was outdated, lacked much needed appropriate storage in all the spaces including the vanity, linen cabinet and other storage cabinets. We optimized storage in all the necessary spaces for getting ready and all the toiletries for both him and her when getting ready.
The tub was oversized for the space without the added luxury a tub should provide. The shower is too small and too narrow.
Material used:
The shiplap behind the vanity is a nice decorative element.
Cabinetry: Custom cabinets by Euro Design Cabinetry: Graphite painted finish
Plumbing fixtures: Jetta Freestanding tub, Brizo plumbing fixtures.
Tiles: Marble Systems Lasa Aura porcelain 12”x24” tile with a Mosaic featured wall and tub surround by Marble system Dolomite Skyline mosaic.
Shower floor tiles: Textured hexagon Mosaic by Marble Systems.
Countertop: Caesarstone Ocean Foam 6141 Quarts
Light Fixture: By Capital Lighting: Mid Century vanity light
Mirrors: By Uttermost Rounded Rectangular Metal Framed mirrors.